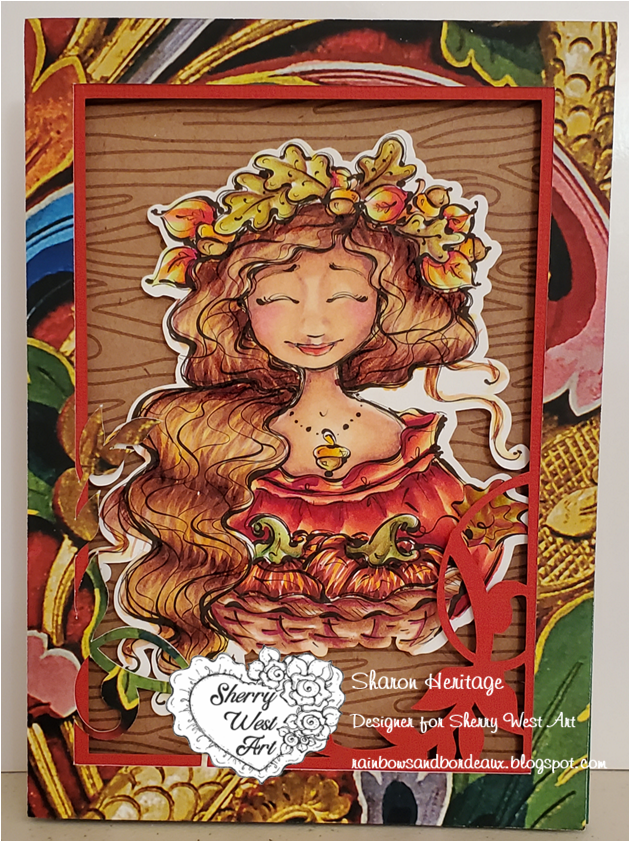
Friday, December 4, 2020
Polly Paper Dolly
Saturday, November 21, 2020
Kids
Friday, November 20, 2020
Ellie With Kittens
Friday, November 13, 2020
Poppi Pokkadott's Christmas
Well, Christmas is right around the corner, and, I don't know about you, but I am BEHIND on my Christmas cards! But, using these cute images from Sherry West, Poppi Pokkadott, I've been able to get a few gift card holders done. I colored the images with copic markers (check out those Kit and Clowder coloring classes!) and placed them on stocking gift card holders that I cut with my Silhouette Cameo 4. The top cuff of the stocking lifts up to reveal a gift card for the recipient! Since we'll be unable to have any family gatherings this year, my husband and I are giving a lot of monetary gifts for Christmas and these stockings are PERFECT! I used the poinsettia from the Elements images to add to the cuff of the stocking, too. I also used one of the images to make an ornament. I cut out four of the shapes, printed the image only on the front and back (I remembered to flip the image so it was reversed!), and, after coloring, I glued them all together. I had pre-glued the ribbon hanger between the first two shapes. I really love how she turned out! The images are available through several avenues: the artist directly, Sherry West on Facebook (digital images), Sherry West email (digital images), or Stamp Addicts (clear stamps), Hochanda TV Stamp Addicts (clear stamps) - CHOICES! Take a look at my creations!
Thursday, November 12, 2020
Wryn Have Heart
For my husband's birthday card I used a Tiddly Inks image called Wryn Have Heart. She is so sweet and comes with all these cute little extras that I had fun placing around the main image. I used 3 digital papers for the background and the images layered just perfectly for me on them. I colored the images with copic markers. I added my own text inside the heart banner Wryn is holding. I colored a wooden heart button with a dark blue copic marker, embossed it with UTEE and then while it was still hot I added a little glitter embossing powder too. Then I tied a twine bow through the button holes and used Glossy Accents to glue it to the card. My sentiment at the top is printed on vellum. Take a look and let me know what you think!
I hope you enjoy my card and have a wonderful day!
Sunday, November 1, 2020
Red-y For Fall (& Christmas)
Thursday, October 22, 2020
Mother Earth
Autumn is upon us, Christmas is coming and Mother Earth is full with abundance. Sherry West has created a beautiful image with versions for both of these seasons. Sherry's images can be found for sale on her Facebook page and she has a great, fun blog you should check out. Sherry is also featured on the November issue of Glo Magazine - It is just out today! I've only colored the Autumn version, but I colored two in very different ways. I colored them with Copic markers and used my Silhouette Cameo to cut them out. In the first one I used richer, darker colors and went with the same idea in the cardstock I used. The two frames were diecut with my Silhouette Cameo. The front frame paper is a cover from a cruise line brochure that I saved because of the colors and images. I used foam squares under the frame and the image just to give them some dimension. I colored the second image with all 01 and 000 Copic markers, from the RV, R, YR, Y, YG, G, BG, B, BV and V colors. If the blend did not have an 01, I used the 02. I tried to go a little lighter in the cardstock and used a really pretty floral ribbon. I added three pink jewels to give it a little bling. And while you are checking things out, don't forget the coloring classes at Kit and Clowder. Take a look at my cards!
Thursday, October 8, 2020
Sugar The Zombie
Crocodile Rock Tom Turkey
Tuesday, September 22, 2020
Friends
Monday, September 21, 2020
Christmas Stocking
Sunday, September 13, 2020
Signs of Autumn
This month in the Outlawz Challenges our Progressive Freebie Challenge image came from Jan's Digi Stamps and is called Signs of Autumn. The image comes with two sentiments and even some pre-colored images. Although I printed this image at 3.25 inches tall, I used a ton of Copic markers to color the leaves. I searched the internet for a picture of autumn leaves and just tried to color something similar. Thanks to the coloring classes at Kit and Clowder, I am able to be brave enough to try different colors together like this! After coloring, I cut a very small piece of Saran Wrap, put it on top of the glass jar and then used Glossy Accents all over the top of it to hold it in place. A complete experiment, but I wanted to see if it would make the glass jar look any more realistic than just the Glossy Accents. I'm not sure if I accomplished what I was going after, but you can let me know. I decided to try a slimline card that seems to be all the rage right now. I made my own frame, diecut a pumpkin, and wrote my sentiment, all on my Silhouette Cameo. The frame is on some foam dots to raise it from the background. Then I added a few orange sequins for some sparkle!
Friday, September 11, 2020
Nuts About You
Thursday, September 10, 2020
Azaleas Forever
Have you discovered Power Poppy stamps yet? They are simply beautiful and they are offered in both clear and digital format! Although I have purchased many (MANY!), all digital, I haven't been brave enough to color most of them. I'm afraid of my coloring not doing the stamps justice. But, I was inspired by a thank you card I received from Honey Bee Stamps. Did you know that when you order from Honey Bee, they include a little thank you with each order? My first two orders (lots of embellishments) had a cute card to color, which I made into cards to send to friends. The card was a picture of a flower spray split in half, with a message in the middle saying, "sending you sunshine." So I used an image from Power Poppy called Azaleas Forever and applied the same idea. It worked! I am really happy with the way this turned out, and I think I might try it with a few other Power Poppy images! I colored the image with my Copic markers, used a white gel pen on the tips of the stamen and added a few colorful sequins. Let me know what you think!
Thursday, August 27, 2020
Mini Poppis
Fall Poppi Pants and Overalls
Friday, August 21, 2020
It's Tea Time
This month at The Outlawz Challenges our Progressive Freebie Challenge features an image from The Paper Shelter called It's Tea Time. Their images are great to color and come with so many options - a pre-colored image with and without a background in both jpg and png, a background paper you can use if you want, and the image to color yourself in both jpg and png. So many options for you to play with! I cut the image out with my Silhouette Cameo 4 and colored it with Copic markers. I used a white gel pen for a few highlights - her eyes, the leaves, and goggles. I used Glossy Accents on the watch, goggles, and the other little bits in her hair. I added my sentiment on vellum and just a little blue bling in two corners with the image popped up on foam squares. The background paper is a digital paper that I had and recolored to match the blue on her outfit. It turned out to be a fun little birthday card!
So, take a break have some tea and enjoy the day as if it is your birthday!
Wednesday, August 19, 2020
Girl With Puppy
Thursday, August 13, 2020
Fab Fall Fairy
The ONLY way you can get this Fabulous image, AND FOR FREE, is at Sherry West Art's Facebook page. Don't walk, don't run, but FLY there NOW and pick her up because she won't be available very long!!! It is a super-fun image to color, and, after seeing all the different takes from the other DT and GDT members, I think I am going to have another go at this. There are SO many women right now that could use a card with this image on it and with just the right sentiment. I'm sure you can think of a few. I used my Silhouette Cameo to cut out the image and colored it with my copic markers. I used Crystal Stickles on the wings, yellow Stickles on the crown and added a few crystals to the crown. I did learn that I cannot use Stickles to adhere crystals (or even sequins for that matter) because they don't stay on. I had to use Glossy Accents to re-glue the crystals on (and some sequins on another card) when they fell off a couple of days later. I also added a little bit of Glossy Accents to the glasses. I used a beautiful vellum paper for the background and then white vellum for the sentiment. I diecut a crown with my Silhouette, using white pearl and gold paper. Then, just a few sequins spread around for more fun, and pau (finished in Hawaiian)! Don't forget to check out Kit and Clowder's coloring classes, too - there are several free ones for you to try out! Take a look and just imagine how much fun you could have with this great image!
Tuesday, August 11, 2020
Baby and Butterflies Boy Version
I just found out my second cousin is expecting a baby boy and her baby shower is in 5 days!! So I did a blue version of the card I posted on July 30th. The image is from Sherry West Art and is so sweet. I added a digital frame and a digital image of baby clothes on a clothesline to make a little scene. I colored the image with copic markers and again paper-pieced the jammies. I used the copic marker B12 on the jammies for a little shading. I forgot to add some highlights with my white gel pen, as I was in such a hurry to finish it. I used the same sentiment, but in blue, and added a blue ribbon and bow - finished and mailed! I don't think my card will make it in time for the baby shower, but it will get there before the baby comes - lol! Have a look-see!
Sunday, August 9, 2020
The Conductor
Happy Sunday to you! Today was my great-nephew's 4th birthday. He has been through so much for a little guy - he was diagnosed with epilepsy a year and a half ago. The doctors tried every medication in every combination and dosage, to try to help him. Nothing helped. It was like the epilepsy could see through the medication, adjust, and keep going. The last resort was brain surgery to ablate the area where the seizures were originating. His parents decided to go ahead with it, even though there was less than a 50% chance it would work. Well, we are 8 months post-surgery and no seizures so far! Thank goodness this happened before the virus shut everything down, too! He is now a very different little boy, talking, loves trains, dinosaurs, hot wheels cars, puzzles and Legos. I used a Tiddly Inks image called The Conductor (no longer available) for his birthday card and placed it on a background of a train yard. I colored the image with copic markers (sorry I did not :-( write them down). I added some diecuts from my Silhouette Cameo and used it to write his name in gold on the engine diecut. I added an ice cream button (shank cut off) to the other diecut and used tiny buttons for the wheels of both diecuts.
I hope he enjoyed his 4th birthday party!
Have a great day!
Thursday, August 6, 2020
Back To School Poppi
Thursday, July 30, 2020
Baby and Butterflies
Tuesday, July 21, 2020
Sunshine
Saturday, July 18, 2020
Sew Much
Wednesday, July 15, 2020
Fans
Wednesday, July 8, 2020
Cupcake Hamster
Tuesday, July 7, 2020
Celebrate!
Friday, June 26, 2020
World's Best Dad
Monday, June 22, 2020
Pack Light
Sunday, June 14, 2020
Pony Plait
Birthday Fairy
I hope you have a Fairy Nice Day!
Wednesday, June 10, 2020
Dogs In A Boat
Monday, May 25, 2020
Three (or Four) Little Oinks
I think my mom will enjoy this!
Have a wonderful day!
Saturday, May 9, 2020
Amelia Mermaid
Thursday, May 7, 2020
50's Anniversary
Take a look at my January card, too, and compare the two - I love them both! I hope you have a wonderful day!
Birthday Fairy
Copic used: